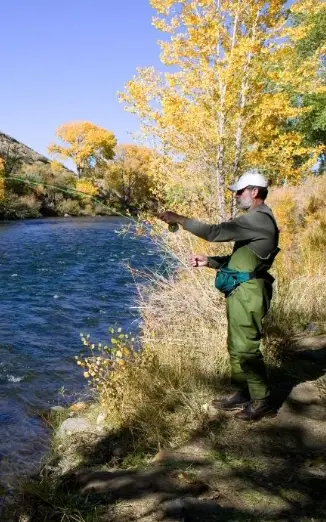
Spinning reels are great tools for fishing. A spinning reel is a type of baitcasting reel that uses a single line to cast out lures.
The main advantage of using a spinning reel is its ability to cast longer distances compared to other types of reels. You can get a spinning reel at almost any sporting goods store.
They usually cost between $10-$20, depending on the brand, and where you purchase them from.
In this article, we will go through the process of spooling your spinning reel. So read on to find out more.
What Does Spooling A Line Mean?
Unlike conventional baitcasting reels where the spool spins to peel off or retrieve line, a spinning reel’s spool stays in a fixed position during the cast.
After the cast has been completed, the bail needs to be closed, then the angler can start to pick their line back up. The natural line twist can cause issues such as tangles or reduce the strength of the line.
However, a way to combat this is to spool your line on properly.
Spinning reel spoolers helps to make putting your line onto your reel much easier. However, you will notice that most spinning reels will have the line capacity either stamped or printed on the reel’s spool.
Generally, spinning reels are known to use light line weights and are an alternative to baitcasting. However, they can be used with heavy lines to catch the species of fish that you desire.
The manufacturer’s specifications are more of a guide when spooling on your line. However, you don’t want to go too far over or under or the line may become tangled, and you’ll have to re-spool the line.
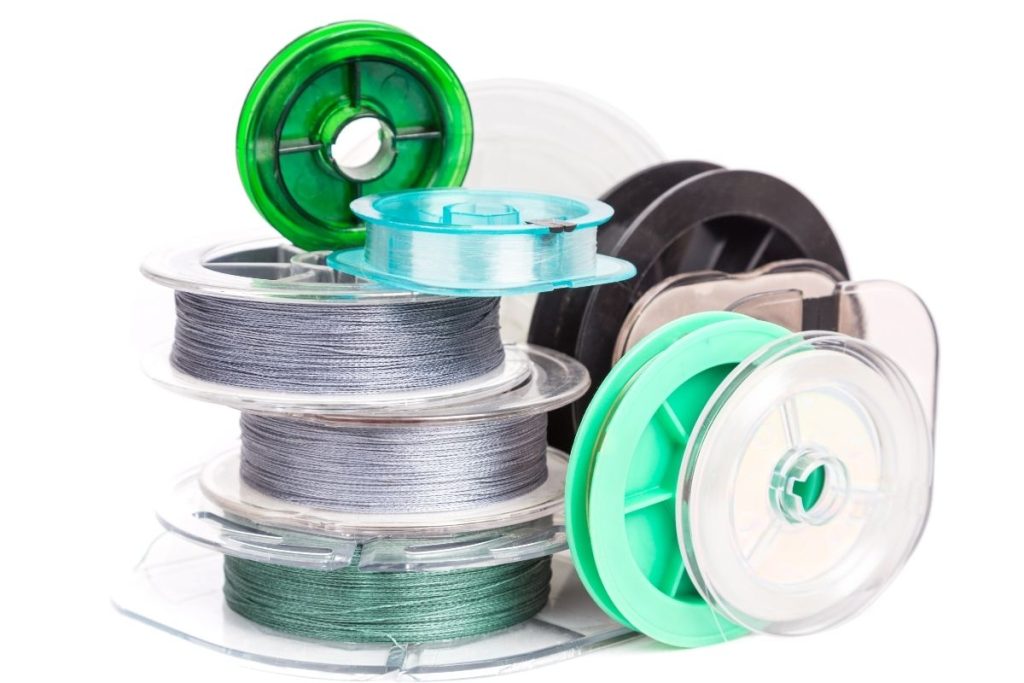
Types Of Line To Use On A Spinning Reel
There are two types of lines to use on a spinning reel: mono and braid. Mono lines are typically made from nylon or polyester material. Braid lines are typically made from braided cotton or synthetic materials.
Mono Lines
A mono line is a very versatile line. It is commonly used for casting smaller baits like jigs, minnows, and crank baits. This type of line is also good for trolling and deep diving.
Mono lines are generally lighter than braid lines. For example, 5 lb. The test monofilament line would weigh about 0.5 oz per foot.
Braid Lines
Braid lines are often used for larger baits like grubs, worms, and soft plastics. These types of lines are also good for trolling and deeper diving.
Braid lines are heavier than mono lines. For example, the same 5 lb. The test braid line weighs about 1.0 oz per foot.
Instructions
Step 1: Open The Bail
To open the bail, simply pull it towards you. This allows you to put the line into the reel. Once you’ve done so, close the bail by pushing it back towards you.
Step 2: Tie The Line Onto The Spool
You want to wrap the line around the spool once and create a knot. This can be any knot that you prefer, however, you want this knot to be as close to the spool as possible.
Now you can also close the bail at this point as well. If you don’t close the bail, then you could end up damaging the bail later on.
Step 3: Place The Line Onto The Spool
To place the line on the spool, you should hold the line so that there is a little slack on the fishing line. You can reign the line onto the reel by using the handle on the fishing reel.
Some wires have memory, so keep your line taut.
However, you need to find a balance between keeping your line tight but not too tight and not too slack.
You need to allow your spool to move up and move, which then makes the process of putting your line on much easier.
Be aware of how many lines you are putting on. You don’t want to add too much line to your spool otherwise when you cast, the line will fall off and create a knot.
As a result, you will then need to reline all of your lines on your spool.
Although, if you don’t add enough, you are going to lose a lot of casting distance and speed while casting. So, you want to get the right amount of line on the spool.
Ideally, it shouldn’t reach above the indent at the top of the spool.
Step 4: Cut The Line
Once you have got the perfect amount of line on, you need to cut the line. However, once you have cut the line, the end of the line can be placed onto the bait keeper.
This is a little clip on a lot of spinning reels, that you can clip the end of the line too when you haven’t got any bait on the end of the line.
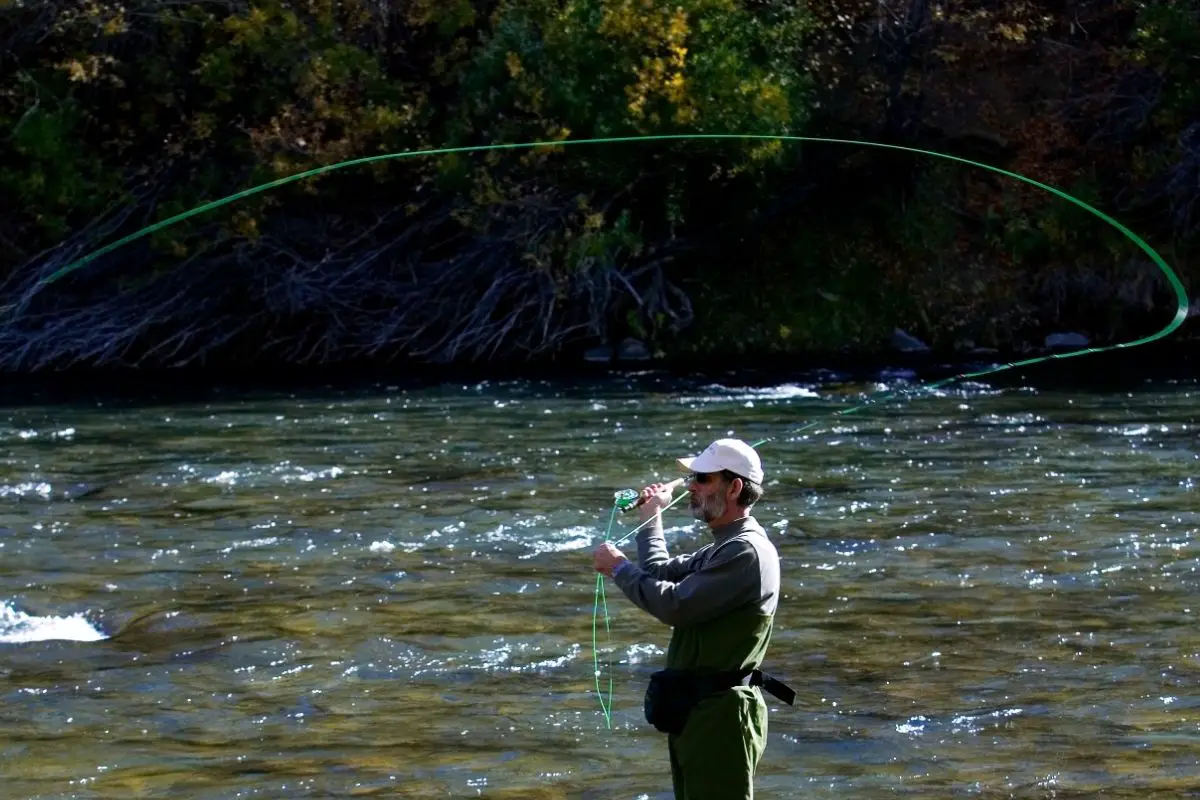
Step 5: Start Casting
You have now spooled your spinning reel and can start casting.
Tips For Casting With A Spinning Reel
Tyger Leader is reader-supported and may earn a commission when you book or purchase using our links. Learn more about our affiliate disclaimer here.
When casting, you want to make sure that you are able to control the line. When you cast, you want to make certain that you are able to stop the line when you want to.
Also, you want to make certain that you are able to change direction in the water without losing your line. In order to do this, you need to practice. Practice casting and see what works best for you.
If you are having trouble casting, try to place the line on the spool first before you cast. This way, you will know exactly where the line is, and you won’t lose it.
It is also important to remember that you need to be able to feel the line when casting.
It is also critical to make sure that you don’t let your line slack too much while casting. If you slacken too much, then you will lose your casting distance and speed.
Final Thoughts
Spooling your spinning reel is a really easy thing to do, and if done right will help improve your casts. Now you know how to spool a spinning reel properly due to our guide. Time to get onto the water and start fishing!