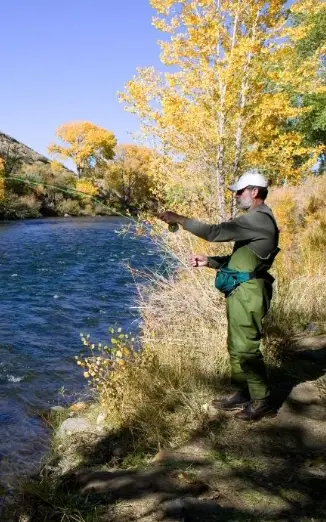
Trout fishing has become one of America’s favorite outdoor activities. Whether you prefer fly-fishing or spin fishing, catching a fish is always exciting. But after you catch that big fish, cleaning it can seem daunting.
Clean a trout involves removing the scales, guts, fins, and blood from the fish before cooking. This process takes time and requires patience.
It can also be an unpleasant and confusing process for beginners, which is enough to put some people off entirely.
But cleaning a trout doesn’t have to be a chore, and with the right technique, you can properly prepare your trout easily and efficiently.
If you’re new to trout fishing or just unsure of how to clean a trout one for eating, then don’t worry!
This guide has got you covered. We’ve created easy-to-follow instructions on how to properly clean a trout, as well as some handy tips and tricks to make the process even easier!
Why Is Cleaning A Trout Important?
There are several reasons why cleaning your fish is important, but it mostly comes down to two main factors: removing the inedible parts of the fish, and reducing the risk of it spoiling.
Not every part of the fish is edible, and you need to remove these from your trout before you can cook it. These include the fish’s scales, tail, head, and organs.
When you’re cleaning the trout, you need to take plenty of care to make sure all of these inedible parts are removed to make it safe to eat.
If you don’t properly clean out the trout, you’re putting yourself at risk of food poisoning and possibly even worse.
Cleaning the fish also extends its shelf life and helps prevent it from spoiling.
By getting rid of the softer material which is more likely to rot, you’ll be able to extend the amount of time your fish can be stored.
It also helps remove parasites and bacteria from the inside of your trout – this not only makes the trout safer, but also stops these bacteria from spoiling the fish.
On top of both of these reasons, there are a few other things that make cleaning the fish important.
Cleaning your trout doesn’t just make it safe to eat, but it also makes the fish much nicer – removing edible, but unpleasant parts of the fish makes it taste better.
It also helps prepare the trout to be cooked, as you’ve already started portioning and dividing different parts of the fish.
Best Way To Clean A Trout: A Step-By-Step Guide
Tyger Leader is reader-supported and may earn a commission when you book or purchase using our links. Learn more about our affiliate disclaimer here.
Now that you know best way to clean a trout, how exactly do you do it? This method will let you clean your trout quickly and easily. Just follow these simple steps and you’ll be ready to clean a trout in no time!
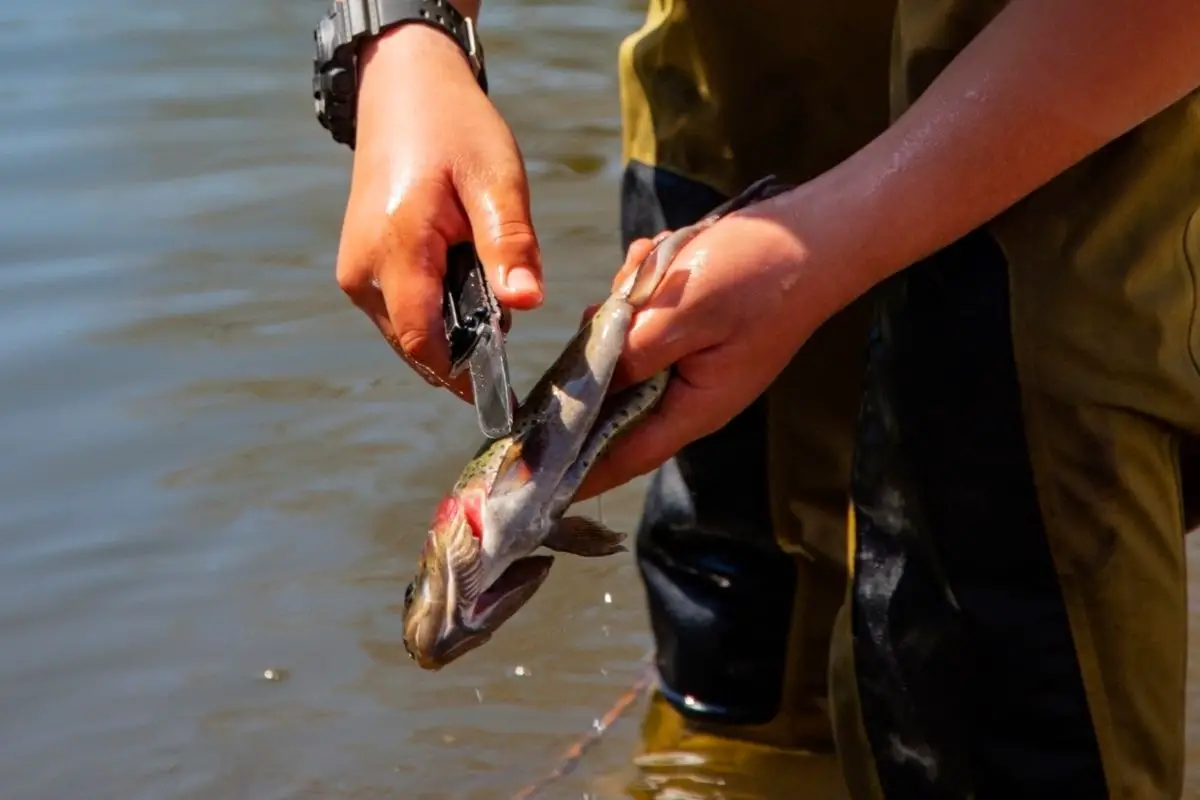
1) Rinse and Prepare Your Trout
Before you can slice open your trout, you need to get everything you need ready. Rinse off the trout under cold, running water to remove any gunk, slime, and surface parasites.
Make sure to clean around the fins and gills to get rid of any trapped dirt.
You also need to gather some supplies. You will need: a chopping board, a sharp knife, and some garbage bags for the trout’s guts. It’s best to work by a sink or at least have a basin of water handy to rinse off the fish as you go.
2) Make the First Cut
The first cut you’ll need to make is a long shallow slice along the trout’s belly. Hold the trout firmly in one hand with its belly facing up.
Take the knife in the other hand, and search for the ‘vent’ – this is a small opening most of the way along the trout’s body, near the base of its tail.
When you’ve found the vent, insert the tip of your knife and gently slice up toward the trout’s head. Stop when you reach the trout’s gills.
The bottom of its gills should form a V-shape, so stop cutting when you reach the point of this V.
Be careful not to cut too deep, as this may puncture the trout’s intestines.
While this won’t necessarily ruin the fish, it will release the contents of said intestines within the trout. This causes an awful smell, and risks exposing the meat to bacteria and digestive juices.
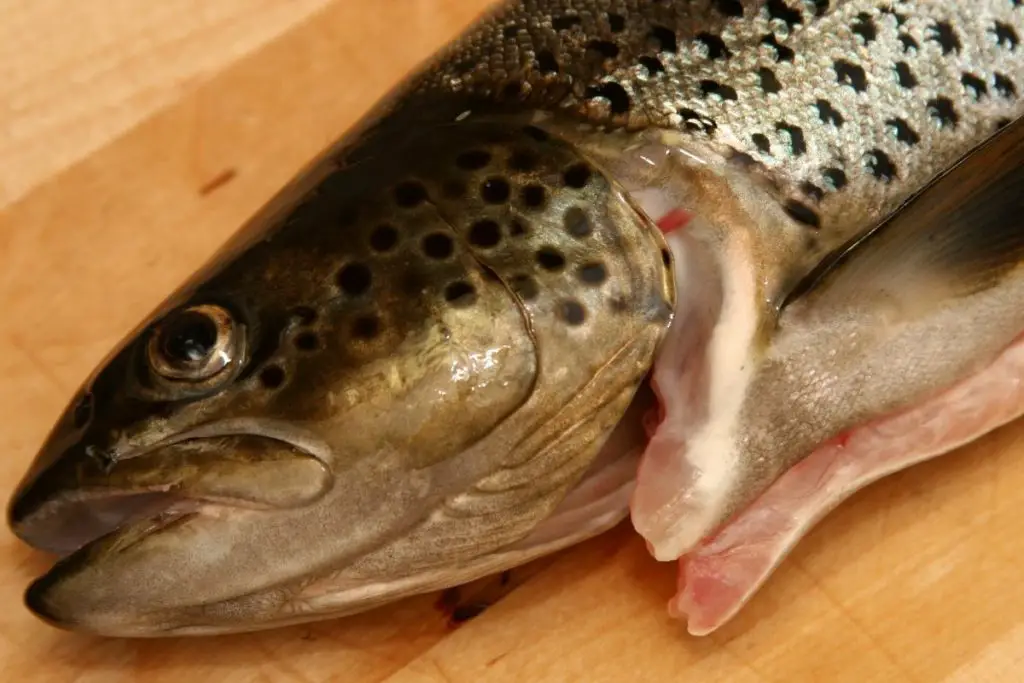
3) Separate the Gills From the Head
Slightly forward from the trout’s gills, on either side of the fish’s ‘chin’, are two small parallel slits. The piece of skin here connects the trout’s head to its gills, securing it to the rest of the body.
With the cutting edge facing the front of the fish, slide your knife into one slit and out the other. Then, simply slide the knife forward to sever this piece of skin and separate the trout’s gills from its head.
4) Remove the Entrails
Here comes the gross part. If you haven’t been wearing gloves already, this might be the time to put them on.
First, widen the slit in the trout’s belly. This will make it easier for the organs to come out in one movement.
Next, grab the trout’s head in one hand, and loop the index finger of your other hand through the slit in the trout’s chin.
Hook your thumb through the cut in its belly until it meets your index finger, and you have a strong grip on its gills.
From here, using a firm and deliberate motion, lift and pull with the hand holding onto the gills.
This will pull the gills away from the trout’s head, and all of its other organs (which are attached to the gills) will be pulled out with it through the hole in the belly.
While you should have successfully removed all the trout’s organs, there may still be some leftover. Simple scoop these out.
5) Remove the Kidney
A trout’s kidney runs along its entire spine and isn’t connected to its other organs. Luckily, it’s also really easy to remove.
You might want to give the trout a quick rinse in cold water to get rid of any lingering blood and gunk, as well as to give you a better look at the kidney.
To remove it, all you have to do is scrape it away from the spine. You can do this using a specialized tool, a spoon, or even just a fingernail. Scrape all the kidney out of the trout, and rinse it until the inside of your trout is clean.
6) Remove the Head, Fins, and Tail
This step isn’t necessary, and depending on when and how you’ll be cooking your trout you might be better off waiting to do this step.
Keeping the head and tail on your trout will give you something to hold onto while preparing it to cook, making filleting, skinning, and other forms of prep much easier.
Keeping these parts on while storing your trout can also make it last longer, reducing spoilage.
However, if you want to cut them off now then here’s how. To cut off the trout’s head, first slice off the small fins at the base of its head.
You can do this by simply making a shallow slice where they meet the trout’s body. Next, find the incision you made to separate the gills.
Insert your knife into that, and firmly press down with a moderate amount of pressure. This will remove the head.
You can cut off the other fins in the same way as the fins near the head. Slice along the base of the fin, taking care not to cut into the body too deeply.
Avoid slicing through the spine while removing the dorsal fin. You might not want to remove the tail depending on how you want to prepare the trout (filleting the fish is easier when you have the tail as a guide and a handhold), but if you want to remove it now then follow a similar process to removing the head.
Follow down the cut in its belly until you reach the vent. Using this as a guide, make an incision on either side of the trout’s body. On the second side, use a bit more pressure and push through to separate the tail.
Rinse off the fish one last time, and it’s ready to be stored or prepared as you see fit!
Final Thoughts
Knowing how to clean a fish is a vital skill for anyone who enjoys fishing or just buying whole fish from the market.
While cleaning a fish can feel intimidating at first, it’s actually really simple once you know what you’re doing. By following these instructions, you’ll be able to clean a trout in no time at all.
Fish tastes the best fresh, and by knowing how to clean a trout yourself you’ll be able to step up your seafood game to no end.
So now that you know how to clean a trout, it’s time for you to get to it and enjoy the delicious taste of your hand-made fish!