A braid is a type of fishing line. They are created by weaving multiple types of synthetic fibers together, creating a dense but thin material. This density is what gives it strength.
Mono is short for monofilament and is made of a single fiber of plastic instead of multiple. This make easiest way to tie braid to mono lines thinner but less strong.
Because they are made out of different thicknesses, it can be hard to tie them together. However, there are two methods to make this work. The first is called the Double Uni Knot, and the second is called the Albright Knot.
We will explain how to tie these knots and what makes them different.
Method One – The Double Uni Knot
To complete this knot, all you need is the braid line and the easiest way to tie braid to mono line. It is a simple method that will add a lot of strength to the line, making it great for big catches.
Step 1
Start by laying the two lines parallel to each other, with one end facing away from the other. Pull these lines, so there are around 8 inches of length to work with.
Allow the rest of the lines to hang so they don’t entangle with each other.
Step 2
Using the mono line, pull the end of the line back to create a loop, then move it back over itself to complete the circle.
Make sure you don’t close the loop up too much. The end of the line should lay parallel with the brain line. For reference, the circle should be about the size of your fist.
To make this easier, you should practice on a table or flat surface.
Step 3
Using just the end of the loop line, wrap the mono around the braid line and the inside line of the newly formed loop.
Only include the most parallel line of the circle, leaving the semi-circle out of the wrap.
Do this around 7 or 8 times.
Make sure to keep the lines parallel to each other. The last loop should leave the end of the line pointing in the same direction as it was going before you started the looping process.
Once you have created the loops, pull the mono line tight. This should tighten the loops and the wraps together.
If you find you cannot create 7 or 8 loops, then it means you haven’t given yourself enough line in Step 1.
To fix this, go back to Step 1 and start again.
Step 4
So far, we haven’t been actively using the braid line, but that changes now.
As you did with the mono line, create a loop with the braid line by pulling the 8 inches you had prepared up and back on itself.
The line should end pointing in the same direction it was facing before, parallel to the mono line.
Step 5
As you did before, wrap the braided line around the easiest way to tie braid to mono line and the inside of the newly formed loop.
Only include the most parallel line of the circle, leaving the semi-circle out of the wrap. Instead of making 7 or 8 loops, just make 4 or 5.
This is because braid lines are already heavier than monos.
When you create these loops, leave a gap between the mono loops and the braid loops.
As before, when you have completed the wrap, give it a pull to tighten the wrap against the mono line.
Step 6
Now to bring the lines together. Simply grab the long ends of both lines, and pull them in opposite directions.
This will slowly force the knots closed. Once closed, they will take an immensely tight connection.
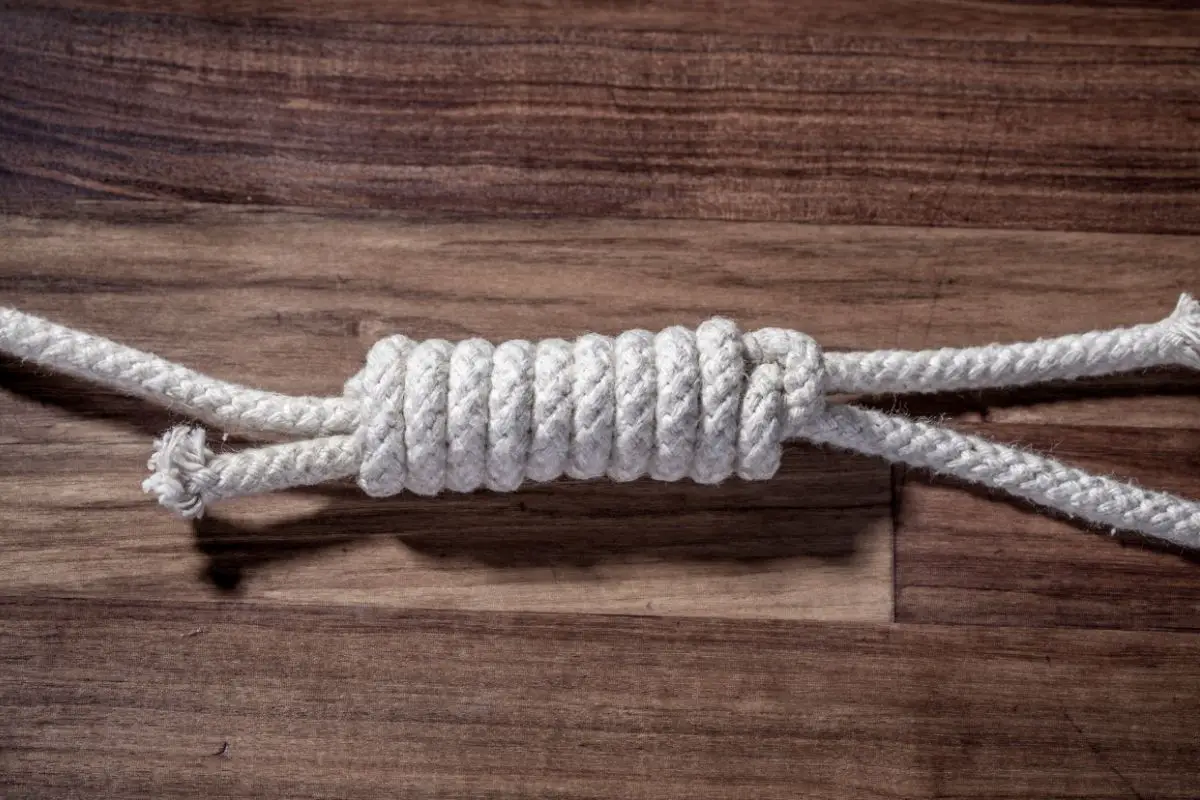
This method is called the Double Uni Knot, as you have forced two Uni Knots together.
Method Two – easiest way to tie braid to mono
Tyger Leader is reader-supported and may earn a commission when you book or purchase using our links. Learn more about our affiliate disclaimer here.
If you want a knot that can pass through guides in a reel, then the Albright Knot would be a better choice. With fewer wraps involved, you can create an easy-to-slide line that is perfect for fly fishing.
Step 1
First, you want to make a loop near the end of your braid line.
Pull out about 6 inches of the line, and then fold it over to create a 2 or 3 inch loop. Allow the short end of the brain line to lie parallel against the long end.
Step 2
Using the end of the mono line, slide the fabric through the loop and then over the other side again.
Pull through around 10 inches of the easiest way to tie braid to mono line – this is to create 10 wraps later.
Side note – you can complete this method by switching the line’s roles around; however, it will make wrapping hard. You should always use the thinnest line to wrap to make the process easier.
Step 3
With the 10 inch line you have pulled through, lay it in between the braid lines. Then start to wrap the mono line around the three laid lines (two braids, one mono).
Complete 10 wraps and end with about 2 or 3 inches of mono line left.
The extra 2 or 3 inches should be facing the loop, which should still be around 2 to 3 inches in size.
If you haven’t got enough of the easiest way to tie braid to mono line to create the wrap, start Step 2 again.
If you end up with no loop or a very small loop, start Step 1 again.
Step 4
Using the extra 2 or 3 inches of easiest way to tie braid to mono mono line remaining, feed the line around the loop. Then poke it through the loop and back out again.
The remaining inch or so should be parallel with the long end of the mono line.
Step 5
With the two mono lines in one hand, and the two braid lines in another, give them both a slight pull. They should slowly pinch together to create a tight knot.
Summary
It can take a couple of tries to get these knots right, as you have to judge how much length you need to give before you start the wraps.
However, once you’ve tried either method a couple of times, you will start making the knots in your sleep.