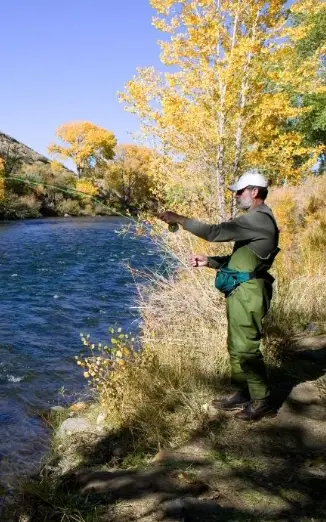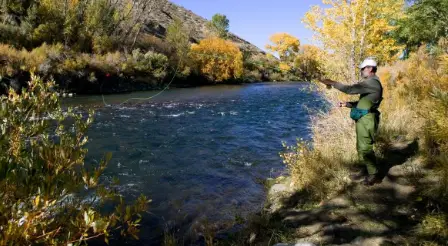
A fisherman needs to learn how to tie various knots to ensure he has the best chance of landing his catch. Some of these include the clinch knot, bowline, sheet bend, clove hitch, figure eight, double half hitches, etc.
However, there is only one knot that every angler should absolutely know how to tie. That knot is the loop knot.
The loop knot is also known as the non-slip mono loop knot. It is a simple yet effective way of securing things to a line.
There are many variations of the loop knot, but the basic principle remains the same. The loop knot can be tied quickly and easily with just two fingers.
In this article, we explain how to tie the perfect loop knot, and cover the many uses and advantages of using this knot whilst chasing your next catch.
The History Of The Loop Knot
The Non-slip loop knot was made popular by the fishing legend Lefty Kreh, and is therefore sometimes referred to as the ‘Kreh Knot’.
Lefty Kreh was an American fly fisher who used his knowledge of knots to help him land more fish.
He was so good at tying knots that he would often use them on his flies in order to make sure they stayed on the hook when he cast it out into the water.
Lefty Kreh’s most famous knot was the loop knot, which he called the ‘Non-Slip Mono Loop’ or simply the ‘Loop Knot’. This name stuck because it was very easy for people to remember.
Lefty Kreh died in 1982, and since then the loop knot has become increasingly popular amongst fishermen all over the world. In fact, the loop knot has been adopted as the official knot of the International Game Fish Association (IGFA).
Another name for the perfect loop knot is the ‘angler’s knot’ because it is such a sturdy and reliable knot for fly fishing.
Tying A Loop Knot – A Step-By-Step Guide
- Start by making a small loop at the end of your line or leader. This will act as a base for your knot. We will call this Loop A.
- Next, take one hand and wrap the line around itself once. You should now have a second loop (Loop B) that sits at the neck of Loop A at a right angle.
- Now, thread Loop B (created in step 2) through the middle of Loop A (created in step 1).
- Draw Loop B up through the original loop until Loop A tightens and forms a loop connection at the neck of Loop B. It should feel a little like pulling a necktie through its original loop.
- Once you’re done tying the knot, trim off any excess line.
- If you want to make sure your knot is tight enough, run the loop knot over an object like a pencil or pen. You can now tighten your non-slip loop knot by tugging on the line
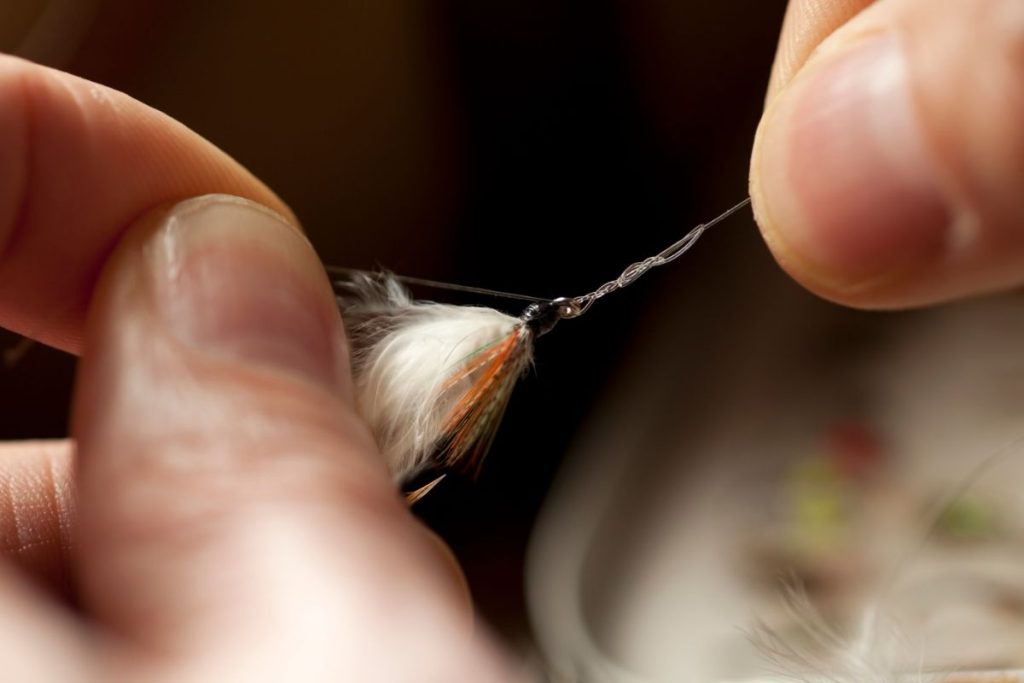
Attaching Your Hook Eye, Fly, Or Lure To A Loop Knot
To attach your hook eye, fly, or lure to a loop knot, simply place it into the center of the loop knot. Pull the line taut so that the loop knot closes tightly around the item.
The Loop knot is almost like a noose around the end of your fly, lure, or hook eye. It is called the non-slip loop knot because this knot actually tightens when resistance is applied to it, rather than coming loose.
It is great for artificial lures and flies because it allows them to move with a very natural action on the end of the line. This in turn attracts more fish for catching.
Benefits Of Using A Loop Knot In Fishing
- The loop knot is great for attaching hooks, eyes, lures, and other items to your line. It makes for easy and speedy leader changes with zero fiddly unpicking to contend with.
- It leaves a snagless tag end
- The loop knot makes it easy to remove the attached item from the line if needed.
- The loop knots are very strong and durable.
- The loop knots are relatively quick to tie.
- The loop knotted can be adjusted to fit different sized objects.
- The loop knots are very versatile. They can be used for all types of fishing including saltwater, freshwater, ice fishing, spinning, and casting.
- The loop knots are easy to untie when you need them to be removed.
Different Types Of Fly Fishing Knots
There are several different types of fishing knot. They differ from each other mainly in terms of their size and strength. These include the following:
- The Overhand Knot is the strongest type of fishing knot. It is commonly used to secure lines together.
- The Half Hitch is similar to the overhand knot, but it is smaller and easier to tie.
- The Square Knot is another common type of fishing knot.
- The Figure Eight Knot is the smallest of the fishing knots. It is ideal for small items such as lures and hooks.
- The Clinch Knot is similar to the square knot, but it is stronger than the square knot. It is great for large objects like rods and reels.
- The Bowline is the easiest fishing knot to tie. It is especially useful for beginners.
- The Sheet Bend is a variation of the bowline knot. It is slightly harder to tie than the bowline.
- The Double Half Hitch is the weakest of the fishing knots. Although, it is still strong enough to hold some items. Its main purpose is to secure a leader to a fly rod.
Final Thoughts
Tyger Leader is reader-supported and may earn a commission when you book or purchase using our links. Learn more about our affiliate disclaimer here.