So, you’ve seen all the YouTube videos of how great fish finders can be. They not only show you exactly where the fish are in your fishing spot, but you can also use them to identify species and see whether they’re interested in the bait.
But unless you know how to read the fish finder properly, you can struggle to do these things. Which is why we’ve put this article together for you, explaining how to read your fish finder.
But there’s no need to worry, we’re not going to give you a headache by making things unnecessarily detailed or complicated, we’re going to keep things simple, straightforward, and easy to understand.
With this quick guide for you, you’ll be really in fish in no time at all!
And without further ado, let’s get started!
What A Fish Finder Actually Does
Before we go any further, it’s important that you understand what a fish finder actually does. It works by sending out sound waves through water, which bounce off objects such as fish or coral reefs.
The echo from these objects then return to the unit, allowing you to see where the fish are.
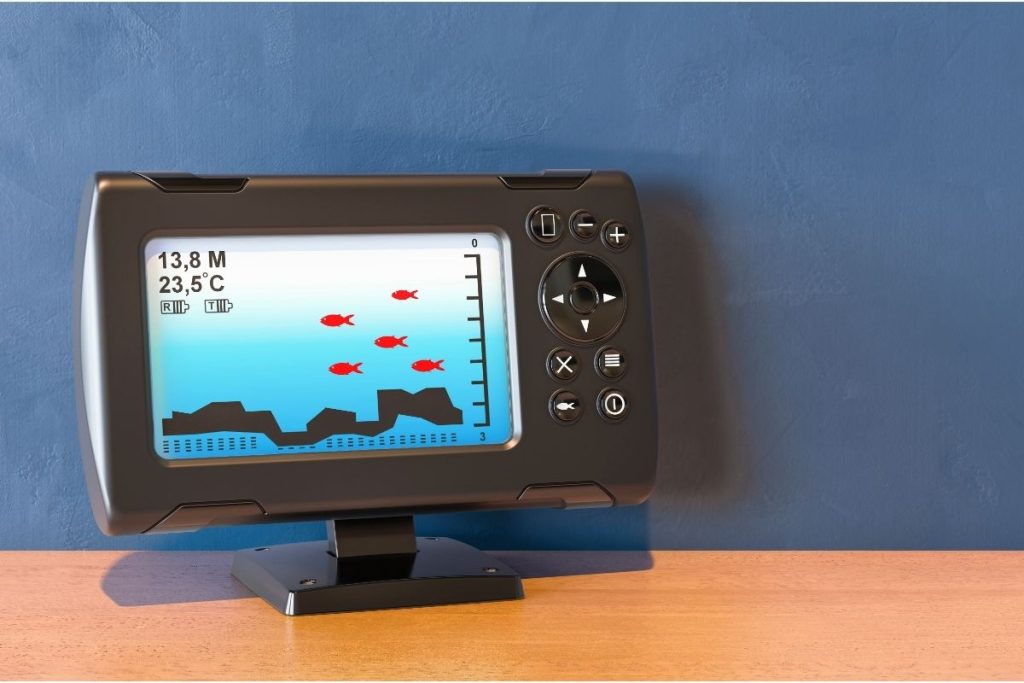
This means that a fish finder will give you two very different readings depending on if there are fish or not. If there are fish around, the fish finder will display an image showing the depth of the fish below the surface.
If there aren’t any fish around, the fish finder will instead display an image of the bottom of the lake or sea.
This is because when fish swim near the bottom of the body of water, their bodies act like reflectors, bouncing the sound waves back towards the fish finder. As a result, the fish finder sees the reflection of these waves and displays an image of the bottom.
How To Read A Fish Finder
Now that you have a basic understanding of what a fish finder does, let’s take a look at how to read one.
For the purposes of this article, we’re going to assume that you already know how to adjust all the settings, such as the sensitivity setting.
Interpreting The Screen
To use a fish finder effectively, you’ll also need to know how to interpret its screen. Here’s how.
If there are fish present, they’ll first appear as small dots or blobs on the screen. Each blob represents one fish.
As long as there are fish present, the blobs will continue to move across the screen.
Zooming In And Identifying Fish
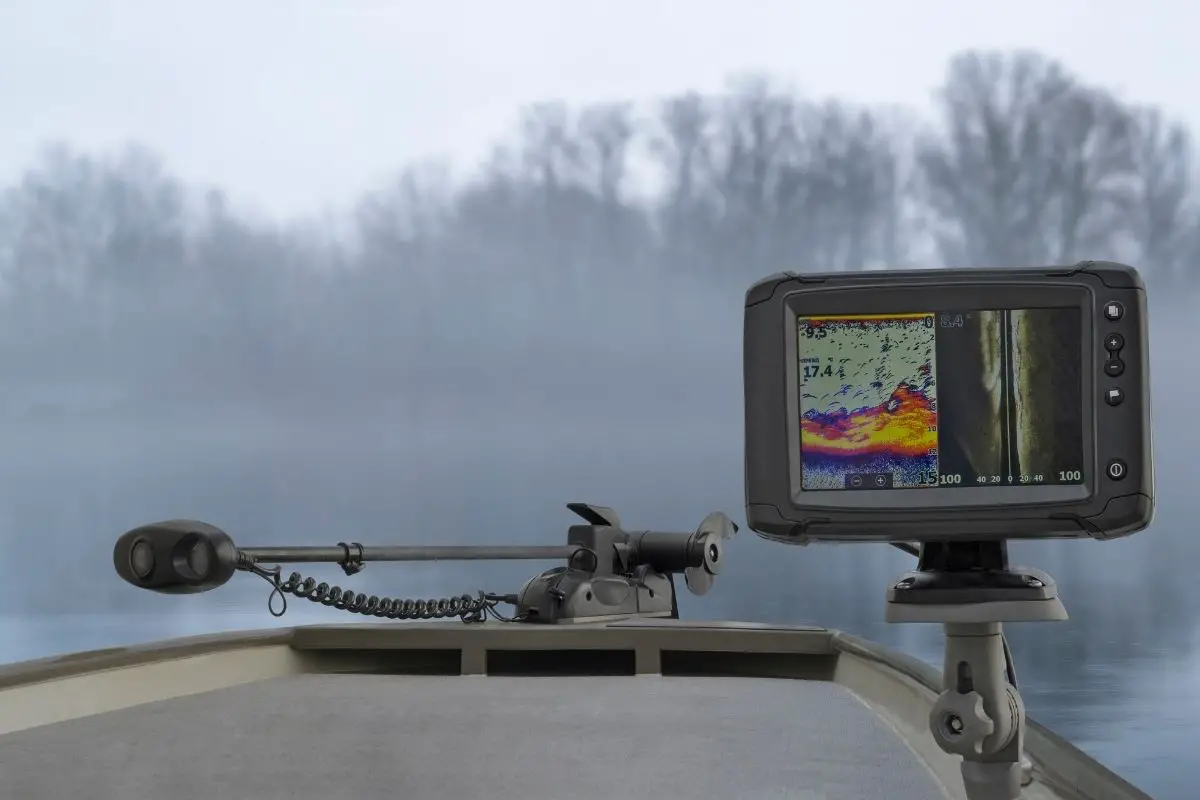
In order to get a better picture of the fish on the screen, you’ll need to zoom in. Press the ‘zoom’ button on the control pad until you’re close up.
Once you’ve zoomed in, you should now be able to make out individual fish. You may even be able to count them. However, don’t worry too much about counting them. Instead, just focus on identifying the type of fish.
Admittedly identifying different species of fish is easier with some fish finders than others, but it can be done
Ideally, it’s usually best to plan ahead before you start fishing, and find out what species of fish are typically in the spot, so that you know what species of fish you can typically expect to catch there.
Determining The Depth
Tyger Leader is reader-supported and may earn a commission when you book or purchase using our links. Learn more about our affiliate disclaimer here.
Once you have identified the fish as best you can, the next job is to determine how far away they are. There should be markings on the screen denoting the depth.
These markings are typically displayed as numbers or letters. For example, the number 1 would indicate that the fish is 10 feet deep.
The closer the fish is to the surface, the higher the number or letter will be. This is because the deeper the fish is, the longer it takes for the sound wave to reach it. It’s counter-intuitive, I know, but you will get used to it.
This is beyond a doubt the most tricky thing about interpreting a fish finder screen, but I promise you that over time it will become second nature to you.
Because fish are often found at different depths, you might want to check multiple areas of the screen.
Some fish finders allow you to change the sensitivity level. This allows you to choose between displaying more or less information.
A low sensitivity setting will show only the deepest parts of the water. On the other hand, a high sensitivity setting will show everything from the surface down to the bottom.
You should also note that sometimes the fish will disappear completely from the screen. But this doesn’t always mean that the fish has gone, as it is usually an issue with the sonar transmission.
If a fish does seem to completely disappear from the screen, all you have to do is simply wait a few seconds before trying again. Typically, the fish will then reappear, as if by magic.
Catching Your Fish
When you’ve used the fish finder to find a fish you want to catch, your next job is to make a note of the depth, so that you can work out how long a cast needs to be.
Next, you’ll need to calculate how many casts you’ll need to make in order to cover the distance between where the fish was located and where you want to land the lure.
Then you can go ahead and fish as you normally would, and you may even see the fish take a bite of the bait on screen!
Wrap Up
So the key point to remember here is that you should not be intimidated by all the data that can come up on your fish finder screen. How it works and how to use it is relatively simple and straightforward.
And you should not let an overly complicated looking screen put you off from buying and using a fish finder , because they make the whole fishing experience not only easier, but much more fun, too.
Happy fishing everybody!